Getting Started with Your Furniture Painting Project
Before diving into painting your piece of furniture, it’s essential to choose the right paint and gather all the necessary supplies to ensure a smooth and successful finish.
Choosing the Right Type of Paint
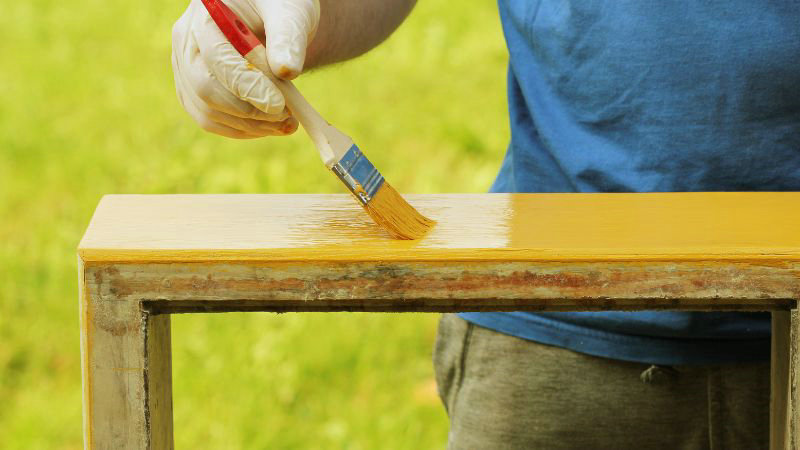
For wooden furniture, you have several paint options; a coat of paint is a fast way to birng new life into an old piece of furniture.
- Latex Paint: Easy to work with and dries quickly. Suitable for furniture that gets light use.
- Use a high-quality latex paint in a satin or semi-gloss finish for durability. Avoid flat finishes.
- Sand the furniture lightly and use a good primer first, especially if changing colors drastically.
- Apply 2-3 thin, even coats with a foam roller or high-quality brush, sanding lightly between coats.
- Seal with a water-based polyurethane for protection, using a foam brush or sprayer for a smooth finish.
- Oil-Based Paint: Very durable. Ideal for high-traffic pieces but requires more time to dry.
- Oil-based paints provide a hard, durable finish but require more drying time and have strong fumes. Use in a well-ventilated area.
- Sand the piece well and use an oil-based primer to prevent bleed-through.
- Apply thin coats with a natural bristle brush, sanding lightly between coats. Add Penetrol to improve flow and leveling.
- Allow ample drying time, at least 24 hours between coats. No topcoat required.
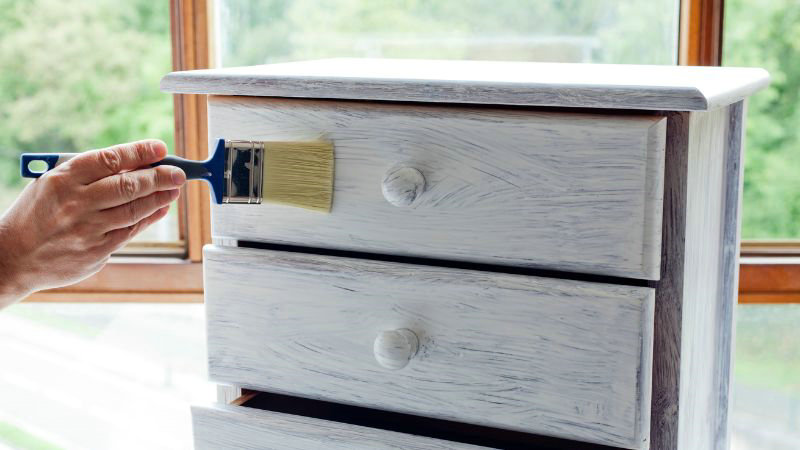
- Chalk Paint: Provides a matte finish and doesn’t typically require a primer. Excellent for achieving a shabby chic look.
- Chalk paint requires minimal prep – no sanding or priming needed in most cases. It adheres well to most surfaces.
- Apply 1-3 coats using a quality bristle brush. Lightly sand between coats if desired.
- Seal with clear wax for a matte finish or polyurethane for more sheen and durability. Buff wax after drying.
- For an aged look, apply dark wax or glaze over paint, then wipe back and seal with clear wax.
- Water-Based Paint: Combines the durability of oil-based options with the ease of use of latex paints.
- Newer water-based enamel paints provide a smooth, durable finish with easy soap and water cleanup.
- Lightly sand furniture and prime it if needed. Apply thin coats with a foam roller or high-quality brush.
- Sand between coats with fine grit sandpaper for an ultra-smooth finish. Apply at least 2 coats.
- Topcoat is optional, as water-based enamels dry to a hard finish. Use a water-based poly if desired.
- Milk Paint: Extremely old type of paint made from natural ingredients like milk protein (casein), lime, clay, and earth pigments. It comes in powder form that you mix with water to create the liquid paint.
- Non-toxic, zero VOCs, biodegradable
- Creates a beautiful velvety, matte finish
- Can achieve a distressed, chippy, antiqued look easily
- Adheres well to raw wood without primer/sanding
- Rich, intense colors that don’t fade over time
- Quick drying time (as little as 30 minutes between coats)
When selecting paint, consider the usage of the furniture piece and the finish you desire. Also, be aware that some paints may need a paint conditioner for improved flow and leveling.
Gathering Supplies
To prepare for your project, collect the following items:
- Sandpaper: You’ll need a variety of grits. Coarse for removing old finishes, fine for smoothing.
- Tack Cloth: To wipe off dust after sanding.
- Primer: Essential for preparing the surface, especially if you’re using a light color over dark wood.
- Brushes: Have a selection including a paintbrush and foam roller for different surfaces.
- Paint Roller: For larger flat areas.
- Orbital Sander: Saves time and effort in sanding.
- Screwdriver: For disassembling any hardware like knobs and hinges.
- Wood Filler: To fill in nicks or holes before priming.
- Drop Cloth: Protect your work area from spills and splatters.
- Masking Tape: To protect areas you don’t want to get paint on.
Preparing the Furniture for Painting
Before you begin the transformation of your wooden furniture, it’s crucial to properly prepare the surface. Doing so ensures that the paint adheres well and gives you a professional-looking finish. Safety, cleaning, and sanding are your preparatory cornerstones.
Safety First
When working on any painting project, ensure proper ventilation in your work area to safeguard your health. If your furniture might have old paint that could contain lead, conducting lead testing is vital. Use a lead testing kit to check for any hazardous substances before you begin; if a lead is present, follow the appropriate safety recommendations.
Removing Hardware and Cleaning
First, remove any hardware like knobs and pulls to avoid getting paint on them. Cleaning the furniture is next; you want to get rid of all the dirt and grime accumulated over the years. Use a mild detergent and water, and then wipe the surface down with a tack cloth to pick up any residue. Allowing the piece to dry completely before moving to the next step is crucial.
Sanding for a Smooth Base
Once the furniture is clean, it’s time to start sanding. If you’re dealing with a large, flat area, an orbital sander can save you time and effort. Start with a coarser 80- to 100-grit sandpaper and then move to a finer grit to achieve a smooth base. Always sand in the direction of the wood grain to prevent scratches. If you only need to lightly sand the surface, you can manually sand with a finer grit. Remember to wipe down the piece with a tack cloth after sanding to remove any dust.
Applying Primer for an Even Foundation
Before you start painting your wooden furniture, applying primer is a crucial step to ensure a smooth, even finish. It not only provides a good adhesive surface for the paint but also seals the wood to prevent bleed-through.
Understanding the Importance of Primer
Primer is your secret weapon for a flawless paint job on furniture. It prepares your wood furniture to receive paint and should be selected based on the paint type and color you will be using.
For light colors, a white primer is preferable to help get those vibrant hues to stand out. On the other hand, a black primer works better when you’re going for darker shades. This is because it provides a deeper base that enhances the final color.
In cases where your furniture might have stains or you’re worried about possible bleed-through, you’ll want to use a stain-blocking primer. Some coat of primers have added stain-blocking abilities, which can be especially helpful for vintage furniture that has seen some wear.
However, you don’t necessarily need to prime wood furniture before painting. It depends.
Painting Techniques for Furniture
When painting wood furniture, the tools you use and how you apply the paint can make a significant difference in the finish. Let’s explore the best techniques to create a stunning, long-lasting piece.
Choosing Your Tools
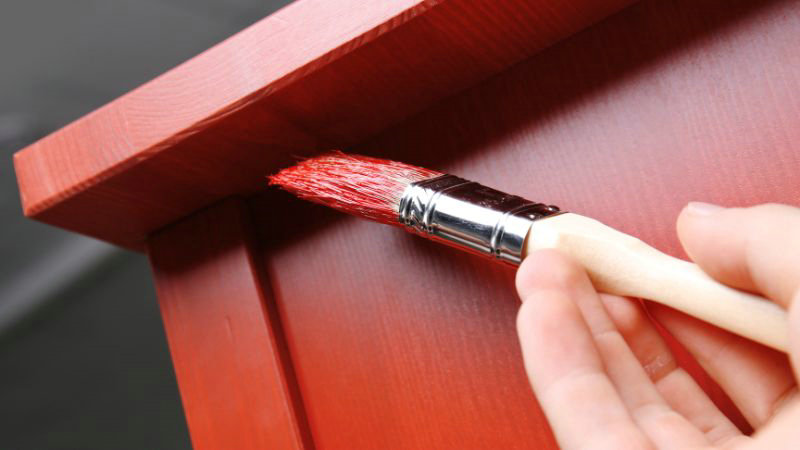
- Paint Brushes
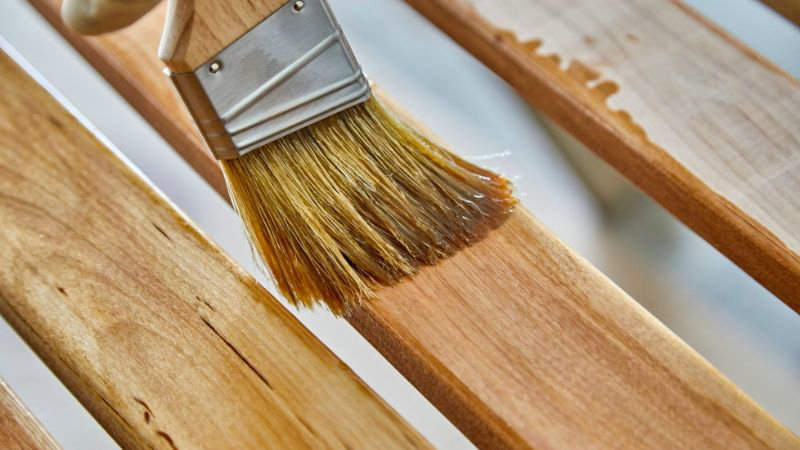
Choose a high-quality paintbrush to avoid bristles coming loose on your piece. For most projects, a 2-inch angled brush works well for painting edges and harder-to-reach areas. For larger, flat surfaces, a wider brush or foam brush can be efficient.
For intricate details or smaller sections, use a smaller, finer brush to get into crevices. Load your brush with enough paint to cover, but not so much that it drips. Apply thin coats rather than thick ones – this ensures quicker drying times and a smoother finish. Brush in the direction of the wood grain for best results.
After the first coat has dried, lightly sand the surface with fine-grit sandpaper before applying the next coat. This removes imperfections and helps subsequent layers of paint adhere better.
- Rollers
A foam roller can ensure a smooth, even application on large, flat surfaces with minimal brush marks. Consider using a mini paint roller for added control.
Dip the roller into the paint tray, ensuring it’s covered evenly but not dripping. Roll the paint onto the furniture in smooth, even strokes. A foam roller is particularly effective for getting those even coats that are essential for a professional finish.
Applying a Protective Finish
After your paint job is done, it’s crucial to seal your wooden furniture to protect it from scratches, stains, and water damage. The right topcoat not only preserves your work but also enhances the appearance of the furniture.
Selecting the Right Topcoat
Choosing the right topcoat is essential for the longevity and aesthetic of your painted furniture. Here are common types of topcoats you can consider:
- Polyurethane: Offers a durable finish in various sheens from matte to gloss finish. It’s ideal for pieces that will be heavily used.
- Polycrylic: A water-based sealant that dries quickly and doesn’t yellow over time. Perfect for light-colored furniture.
- Wax: Provides a satin finish that’s more natural-looking but requires more maintenance.
The Sealing Process
When applying the sealant, ensure you work in a well-ventilated space and follow these steps for best results:
- Preparation: If your paint isn’t fresh, lightly sand the surface with a fine-grit sandpaper (220-grit) to allow the topcoat to adhere better.
- Application: Apply your chosen topcoat using a clean brush or a foam roller for an even layer, working along the grain of the wood.
- Drying: Allow the first coat to let it dry completely, as per the manufacturer’s instructions. This could range from a few hours to overnight.
- Additional Coats: For a more durable finish, consider multiple coats, especially for high-traffic furniture. Sand lightly between coats to ensure smoothness.
Remember, the clear finish will enhance your furniture’s color and sheen, so select the type that aligns with the look you desire.
Customizing and Upgrading Your Painted Furniture
Creating a unique piece or reviving an antique can be both rewarding and cost-effective. Let’s explore how you can add personal touches that reflect your style and how to maintain the fresh look of your painted furniture.
Adding Personal Touches
Style and Flair:
- Choose a color scheme that complements your room or goes bold with contrasting colors for a statement piece.
- Consider using painting techniques like distressing, stenciling, or color blocking to add depth and character.
DIY Hardware Updates:
- Swap out existing hardware on drawers and doors with modern, vintage, or whimsical knobs and pulls.
- Paint existing hardware to match your new design, considering metallic finishes for an upscale look.
Attention to Detail:
- Grooves and crevices can be highlighted with a glaze or a contrasting paint color to enhance intricate designs.
- Apply a finish that not only protects but also complements the piece—matte for a modern look or glossy for high-end appeal.
Frequently Asked Questions
What type of primer should I use before painting wooden furniture?
To ensure the best adhesion and a uniform finish, use an oil-based or latex primer designed for wooden surfaces. An oil-based primer is particularly good for furniture that will see heavy use.
Is it possible to spray paint wooden furniture, and if so, how?
Yes, you can spray paint wooden furniture. After priming, apply the spray paint in even, sweeping motions, holding the can about 12 inches from the surface. Several light coats give a smoother finish than one heavy coat.
What are some creative painting ideas for wooden furniture?
Get creative by trying techniques like distressing, using stencils, or applying a chalk paint finish for a shabby chic look. Playing with color blocking or geometric patterns can also add a modern twist.